Before configuring Windows Mail, be sure to enable POP access, which is disabled by default. To enable POP access, see Enable POP access in Outlook.com.
To configure Windows Mail
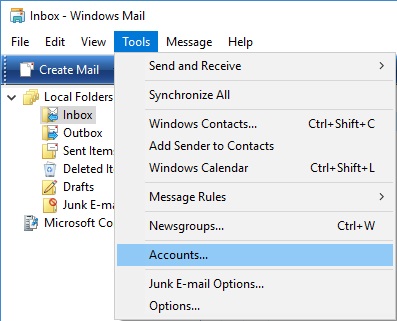
2. On the Tools menu, click Accounts.
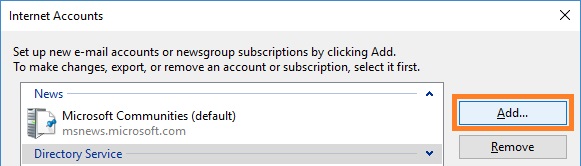
3. Click Add.
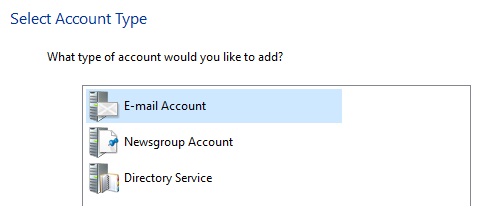
4. Click E‑mail Account, and then click Next.
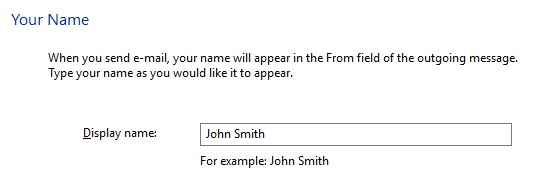
5. Enter your name as you would like it to appear in the From: field of outgoing messages, and then click Next.
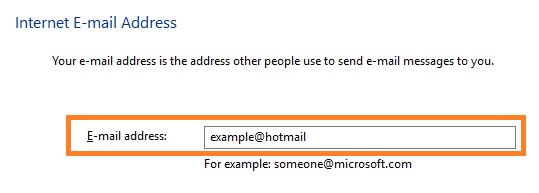
6. Enter your Hotmail (Live, Outlook.com) e-mail address. If your address ends with @hotmail.com, exclude the final ".com" (for example, if your address is "[email protected]", enter "example@hotmail"). Otherwise, you will not be able to follow the next steps. Click Next.
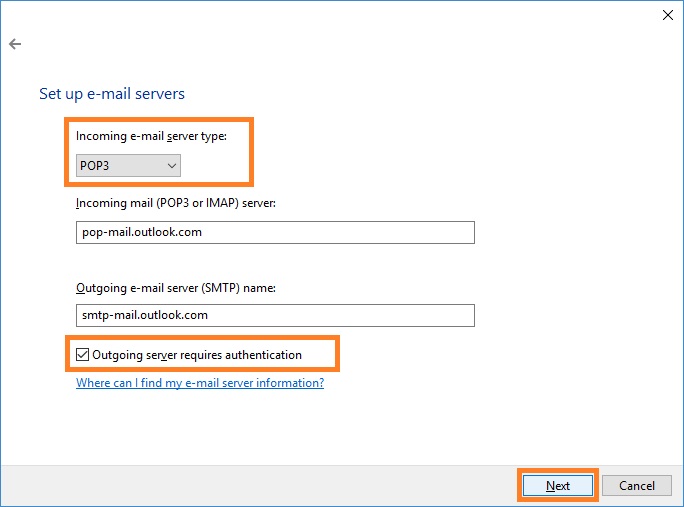
7. Fill in all necessary fields to include the following information:
Incoming e-mail server type: POP3
Incoming mail (POP3 or IMAP) server: pop-mail.outlook.com
Outgoing e-mail server (SMTP) name: smtp-mail.outlook.com
Outgoing server requires authentication: enabled
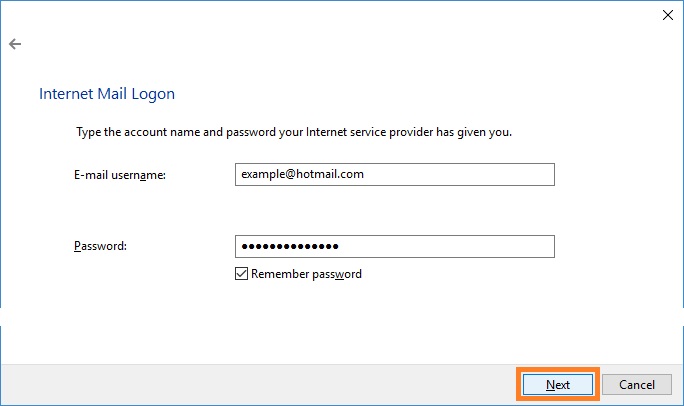
8. Click Next, and then enter your full Hotmail (Live, Outlook.com) e-mail address under E-mail username and your password under Password. Click Next.
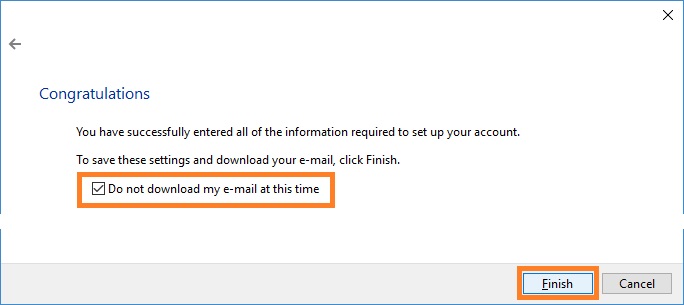
9. Check the box next to Do not download my e-mail at this time, and then click Finish.
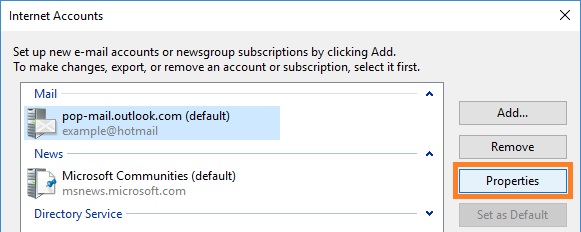
10. On the Internet Accounts screen, make sure that your pop-mail.outlook.com mail account is selected, and then click Properties.
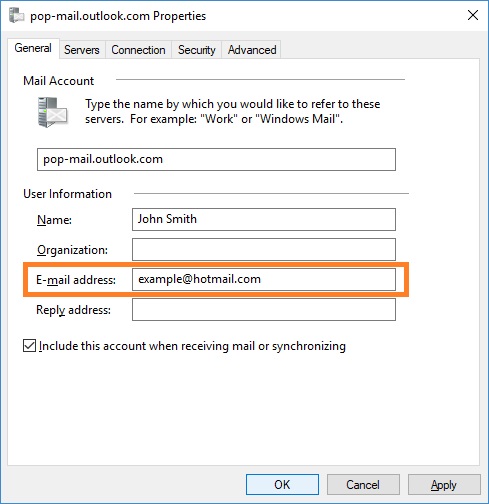
11. On the General page, under Email address, append ".com" to your e-mail address to complete it, see also step 6.
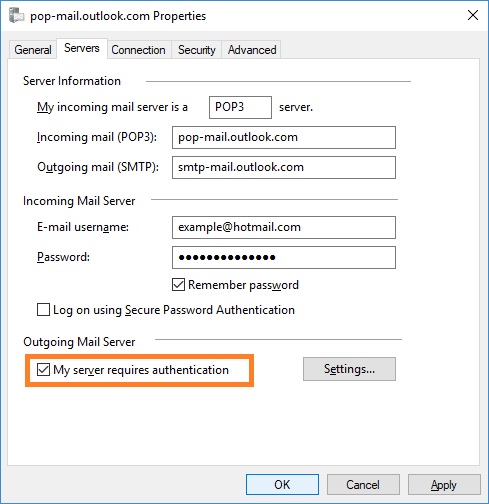
12. On the Servers page, under Outgoing Mail Server, make sure that My server requires authentication box is checked.
13. On the Advanced page, check the box next to This server requires a secure connection (SSL). Make sure that 25 is entered in the box next to Outgoing mail (SMTP). Please note that Explicit SSL mode (STARTTLS, port 587) is not supported in Windows Mail, so you only can use Implicit SSL mode with port 25.
14. Check the box next to This server requires a secure connection (SSL) under Incoming mail (POP3). The box next to Incoming mail (POP3) should be automatically updated to 995.
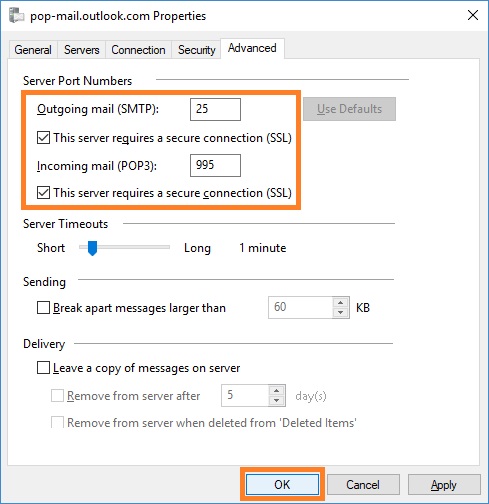
15. Click OK. You're done! Close the Internet Accounts window and click Send/Receive to start checking your Hotmail (Live, Outlook.com) messages.